
Plywood: the unsung hero of countless construction projects. It’s versatile, sturdy, and surprisingly eco-friendly. But before you nail down that perfect sheet, proper inspection is crucial. Skipping this step can lead to frustration, wasted materials, and ultimately, compromised project quality. Fear not, DIYers and pros alike! This comprehensive guide will equip you with the knowledge and tools to inspect plywood like a seasoned lumberjack.
Essential Tools:
- Tape measure: Ensuring accurate dimensions and identifying size irregularities.
- Straight edge: Checking for warping and uneven surfaces.
- Flashlight: Illuminating internal voids and inconsistencies.
- Knock block: Detecting delamination and hidden flaws (a small hammer works too!).
- Moisture meter: Measuring moisture content, is crucial for preventing warping and decay.
Inspection Steps:
-
Visual Examination:
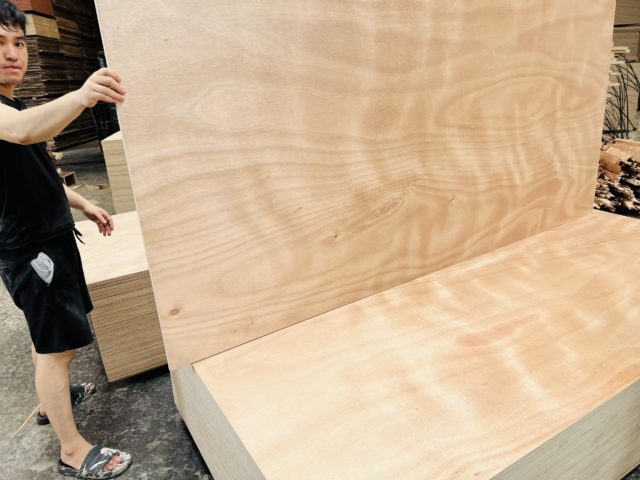
visual examination - Surface flaws: Look for cracks, knots, gaps, or uneven sanding. Minor flaws are manageable, but extensive damage indicates a reject.
- Edge quality: Inspect edges for splintering, chipping, or delamination. Clean, smooth edges are optimal.
- Veneer integrity: For veneered plywood, check for bubbles, lifting, or peeling. Ensure the veneer adheres seamlessly.
-
Dimensional Accuracy:
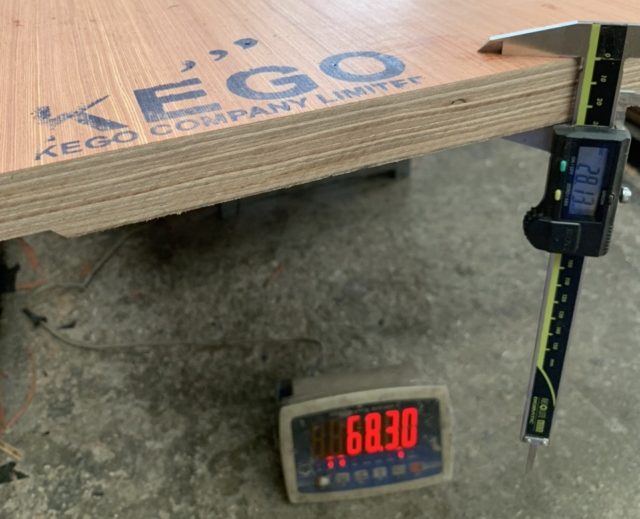
measurement - Measure the sheet’s length, width, and thickness in multiple locations.
- Minor variances are acceptable, but significant discrepancies could cause installation headaches.
-
Flatness and Warping:
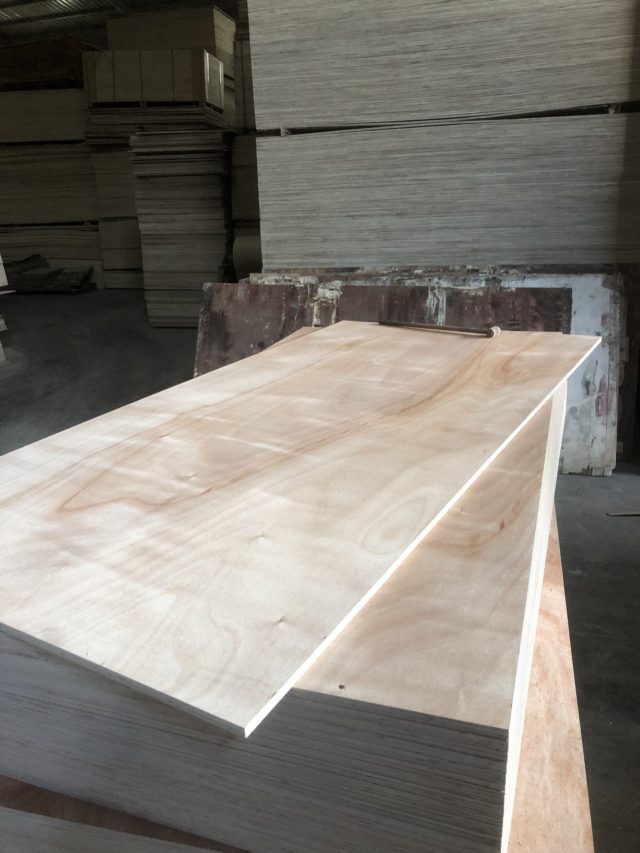
flat surface of plywood - Lay the sheet on a flat surface and use a straight edge to check for warping.
- Significant bowing or cupping renders the sheet unsuitable for most applications.
-
Internal Voids and Delamination:
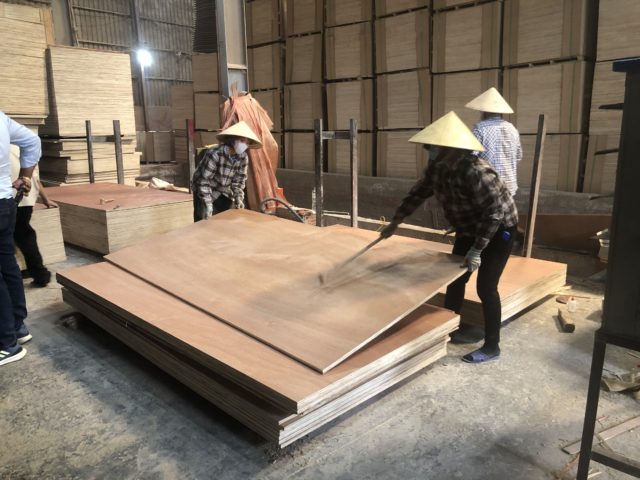
knock block - Shine a bright flashlight through the sheet to detect internal voids, especially in thinner plywood.
- Tap the surface with the knock block; a hollow sound indicates delamination.
-
Moisture Content:
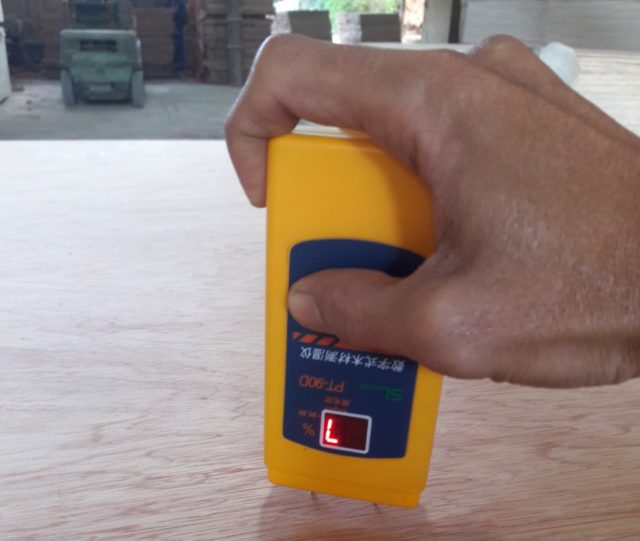
moistrue checking - Use the moisture meter to measure the plywood’s moisture content.
- Ideally, it should be between 8-12%. Excessively wet plywood is prone to warping and decay.
Bonus Tips:
- Familiarize yourself with different plywood grades and their suitability for specific projects.
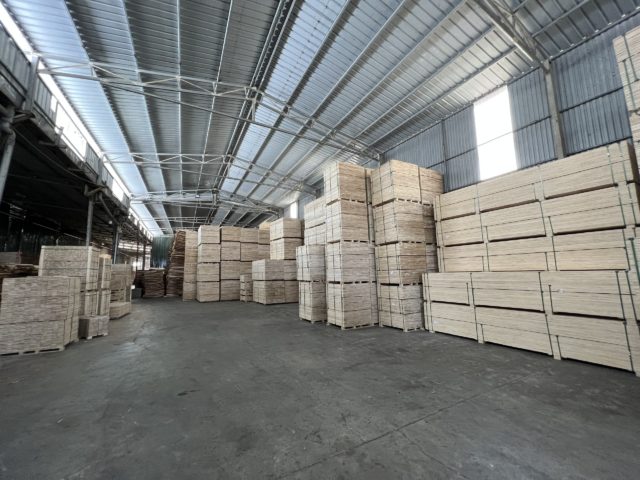
- Consider purchasing from reputable suppliers who offer quality inspections and guarantees.
- Store plywood in a dry, well-ventilated area to prevent moisture issues.
By following these step-by-step instructions and incorporating the bonus tips, you’ll be a plywood inspection pro in no time. Remember, meticulous inspection ensures you choose the right sheets for your project, saving you time, money, and heartache in the long run.
Contact Kego Co., Ltd
Experience the difference of premium timber exports with Vietnam Plywood. Explore our product range, learn more about our sustainable practices, and contact us for personalized assistance. Trust us to be your reliable partner in quality plywood exports.
Call us: + 8424 3222 2333 – +84 97 999 5346 (Whatsapp)
Email us: sales@kego.com.vn
Location: R.603 Kim Anh Building, Lane 78, Duy Tan Street, Cau Giay District, Hanoi.